View All Policies
To view all policies, their coverage, and uploaded documents connected to the policy, click on the School Sites Tab on the Left Navigation Menu. 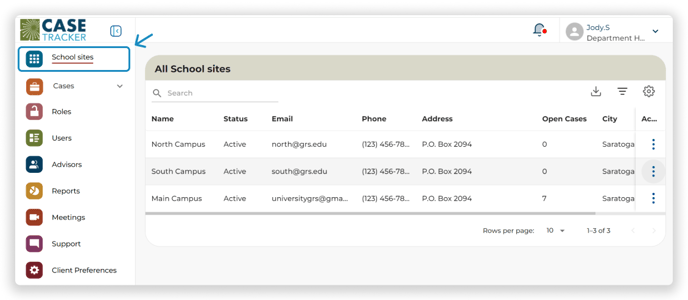 Click on the three dots under the Actions column, then click Policies in the dropdown menu.
 Another way to view a policy is to click on the School/Campus Name to open Manage School Site/Manage Campus, then click the Policies.
Manage Policies
To edit a policy, click on the name of the policy, or click on the three dots next to the policy name, then click Edit in the dropdown menu.

To duplicate a policy, click on the three dots next to the policy name, then click Duplicate in the dropdown menu.
To delete a policy, click on the three dots next to the policy name, then click Delete in the dropdown menu. You will receive an error if you try to delete a policy that is currently in use.  To archive or inactivate a policy, click on the name of the policy, or click on the three dots next to the policy name, then click Edit in the dropdown menu.
 Click the Active Toggle to the right of the policy title to mark the policy as active or inactive. Click the Update Button at the top right of the screen to save your changes.

Add New Policy
To set up a new policy, click on the New Policy Button on the top right of the Policies Table.
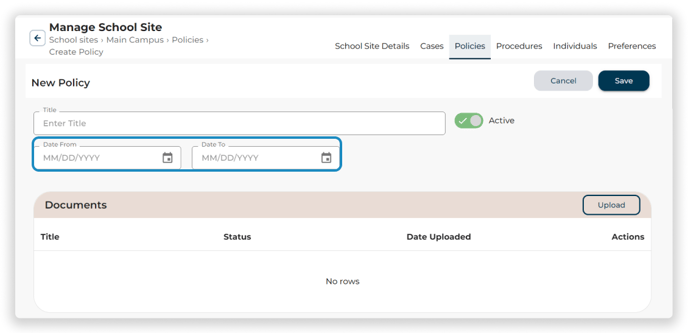
Policy Name and Effective Dates
Type the name of the policy into the Title Text Box.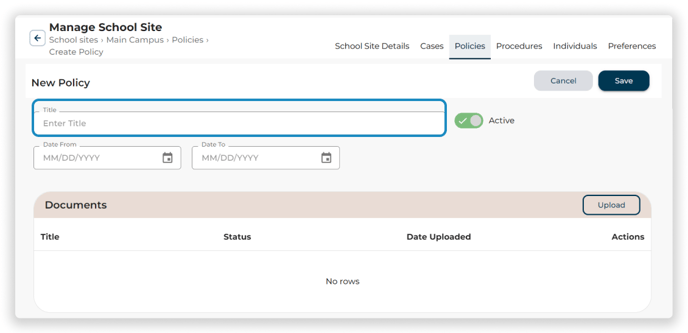
Select the start and end dates that the policy is in effect using the calendar dropdowns.
Attach Documents to a Policy
Attach global policy documents by clicking the Upload Button on the top right of the Documents Table.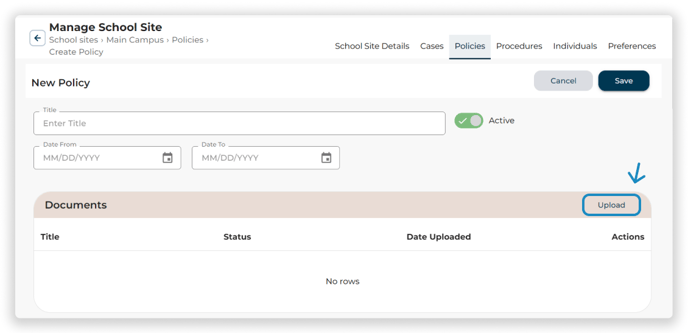
To attach a document to only one portion of the policy, hover your cursor next to the Policy Coverage property that you would like to attach a document to, then click on the upload icon that appears.
Set Up the Policy Coverage
Use the checkboxes in the Policy Coverage table to select which properties are covered by this policy. This coverage information will influence the priority order of the displayed policy options when creating a new case.

Use the checkboxes to the left of the column headings to select coverage for the entire group of properties in that column.