Note: Only users with certain permissions can customize app settings. Learn more about user roles and permissions, or contact your Administrator to request access to customize your settings.
Note: After adjusting settings, you must click the Save button at the top right of the page to save your changes.

To customize your Case Tracker app and adjust system settings, click Client Preferences on the Left Navigation Menu.
Naming Terminologies
If the default terms for Complainant, Respondent, and Case Documents do not suit your needs, you can create custom terms that do. The terms you enter will be displayed for all case records and for all users on your account.

Procedure Days
Select the days of the week that are counted for time elapsed during a case. If you want the system to only count Monday through Friday, choose the "Business" option. If you want the countdown to include all days of the week, even Saturday and Sunday, select "Calendar".

Individuals
When you add an individual to a case as a complainant, respondent, or witness, you can assign them to a “type” to help you categorize individuals. Under App Settings you can create and modify the individual types options. You can also create and assign subtypes and statuses to individuals.
Note: After creating and editing individual types, you must click the Save button at the top right of the page to save your changes.

- New individual type: To create a new individual type, click Add (plus icon) next to Type. Enter the name of the new type option, then click the checkmark to add it. Click Save at the top of the page to save your changes.
- Edit: To rename an individual type, click Edit next to the individual type you would like to modify. Enter the new name, then click the checkmark. Click Save at the top of the page to save your changes.
- Delete: To remove an individual type, click Delete next to the individual type you would like to delete. Click Save at the top of the page to save your changes.
- New Subtype: To create a subtype, first click the name of the individual type you would like to create a subtype for then click Add (plus sign) next to Subtype. Enter the name of the new subtype option, then click the checkmark to add it. Click Save at the top of the page to save your changes.
- New Status: To create a status, first click the name of the individual type you would like to create a status for then click the Add button (the plus sign) next to Statuses. Enter the name of the new subtype option, then click the checkmark to add it. Click Save at the top of the page to save your changes.
The individual types you enter will be available under the Type and Sub-type drop-down menus when you add a new individual to your School Site.

Coverage
When you add a policy or a procedure to a school, you can specify the coverage of the policy or procedure by locations, violation types, departments, and case types. Under app settings you can create and modify the coverage options that are available when setting up your policies and procedures.
Note: After creating and editing coverage options, you must click the Save button at the top right of the page to save your changes.
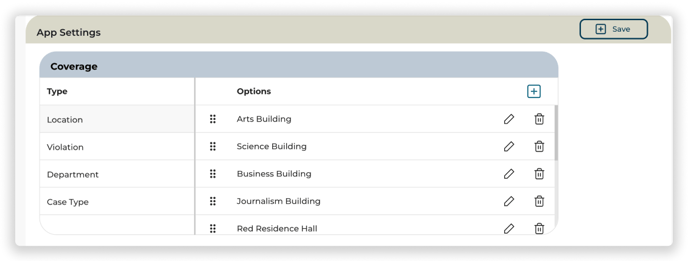
- New coverage option: To create a new coverage option, first click the coverage type you would like to create an option for then click Add (plus icon) next to Options. Enter the name of the new coverage option, then click the checkmark to add it. Click Save at the top of the page to save your changes.
- Edit: To rename a coverage option, click Edit next to the coverage option you would like to modify. Enter the new name, then click the checkmark. Click Save at the top of the page to save your changes.
- Delete: To remove a coverage option, click Delete next to the coverage option you would like to delete. Click Save at the top of the page to save your changes.
Case Outcome
Under Manage Case, you can specify the outcome of a case by appeals, dispositions, findings, remedies, and sanctions. Under app settings you can create and modify the outcome options that are available when managing a case.
Note: After creating and editing case outcome options, you must click the Save button at the top right of the page to save your changes.
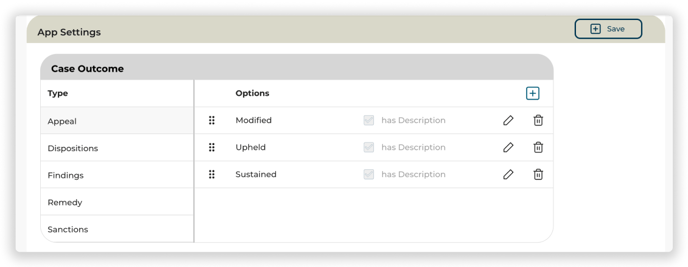
- New outcome option: To create a new outcome option, first click the outcome type you would like to create an option for then click Add (plus icon) next to Options. Enter the name of the new outcome option, then click the checkmark to add it. Click Save at the top of the page to save your changes.
- Edit: To rename an outcome option, click the Edit button next to the outcome option you would like to modify. Enter the new name, then click the checkmark to save your changes. Click Save at the top of the page to save your changes.
- Delete: To remove a case outcome option, click Delete next to the outcome option you would like to delete. Click Save at the top of the page to save your changes.
Other Software
If your team uses another case management or people management software, you can add a reference to an existing case in your other software under Manage Case. Under app settings you can adjust the software options that are available when adding a case reference.
Note: After creating and renaming software options, you must click the Save button at the top right of the page to save your changes.
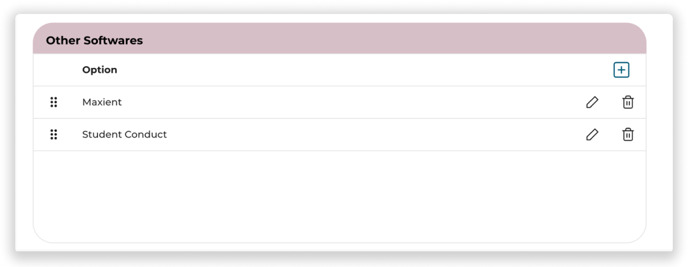
- New software option: To create a new software option, click the Add button next to Option. Enter the name of the new software option, then click the checkmark to add it. Click Save at the top of the page to save your changes.
- Edit: To rename a software option, click the Edit button next to the software option you would like to modify. Enter the new name, then click the checkmark. Click Save at the top of the page to save your changes.
- Delete: To remove a case outcome option, click Delete next to the outcome option you would like to delete. Click Save at the top of the page to save your changes.